 |
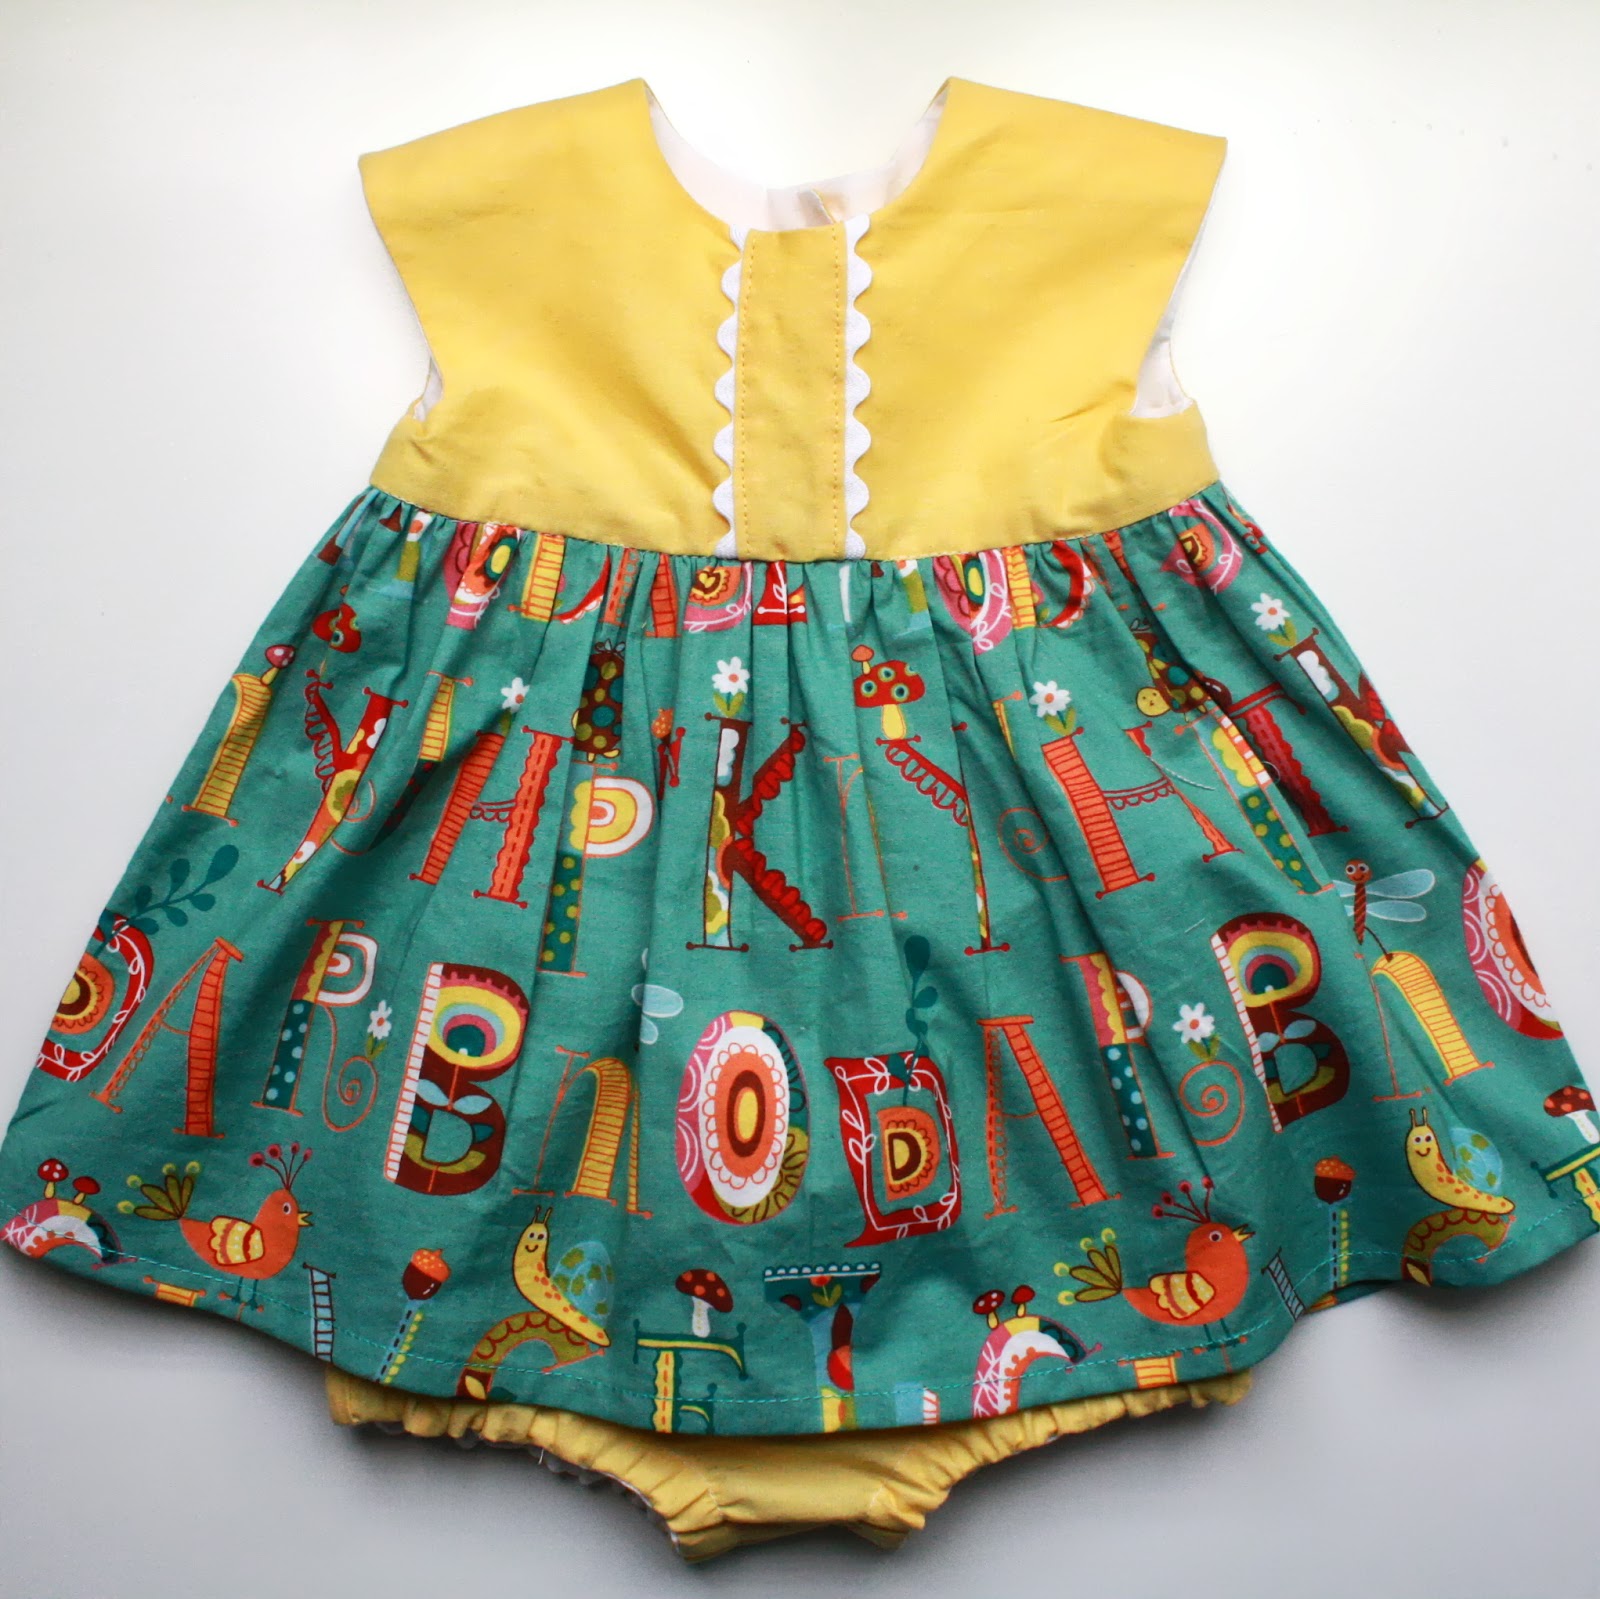
| Front view |
And now for something completely different! I was in a pretty serious coral and pink rut (what I’m referring to as my Summer Collection :), so it was pretty fun playing with new colors. With a second baby girl gift in mind, I searched through my stash to find something not-too frilly and found a long-forgotten piece of Moda cotton (Wee Woodland). I’m a huge fan of yellow (my son reminds me daily that it’s my favorite color), so this sunny yellow was the perfect match for the skirt.
 |
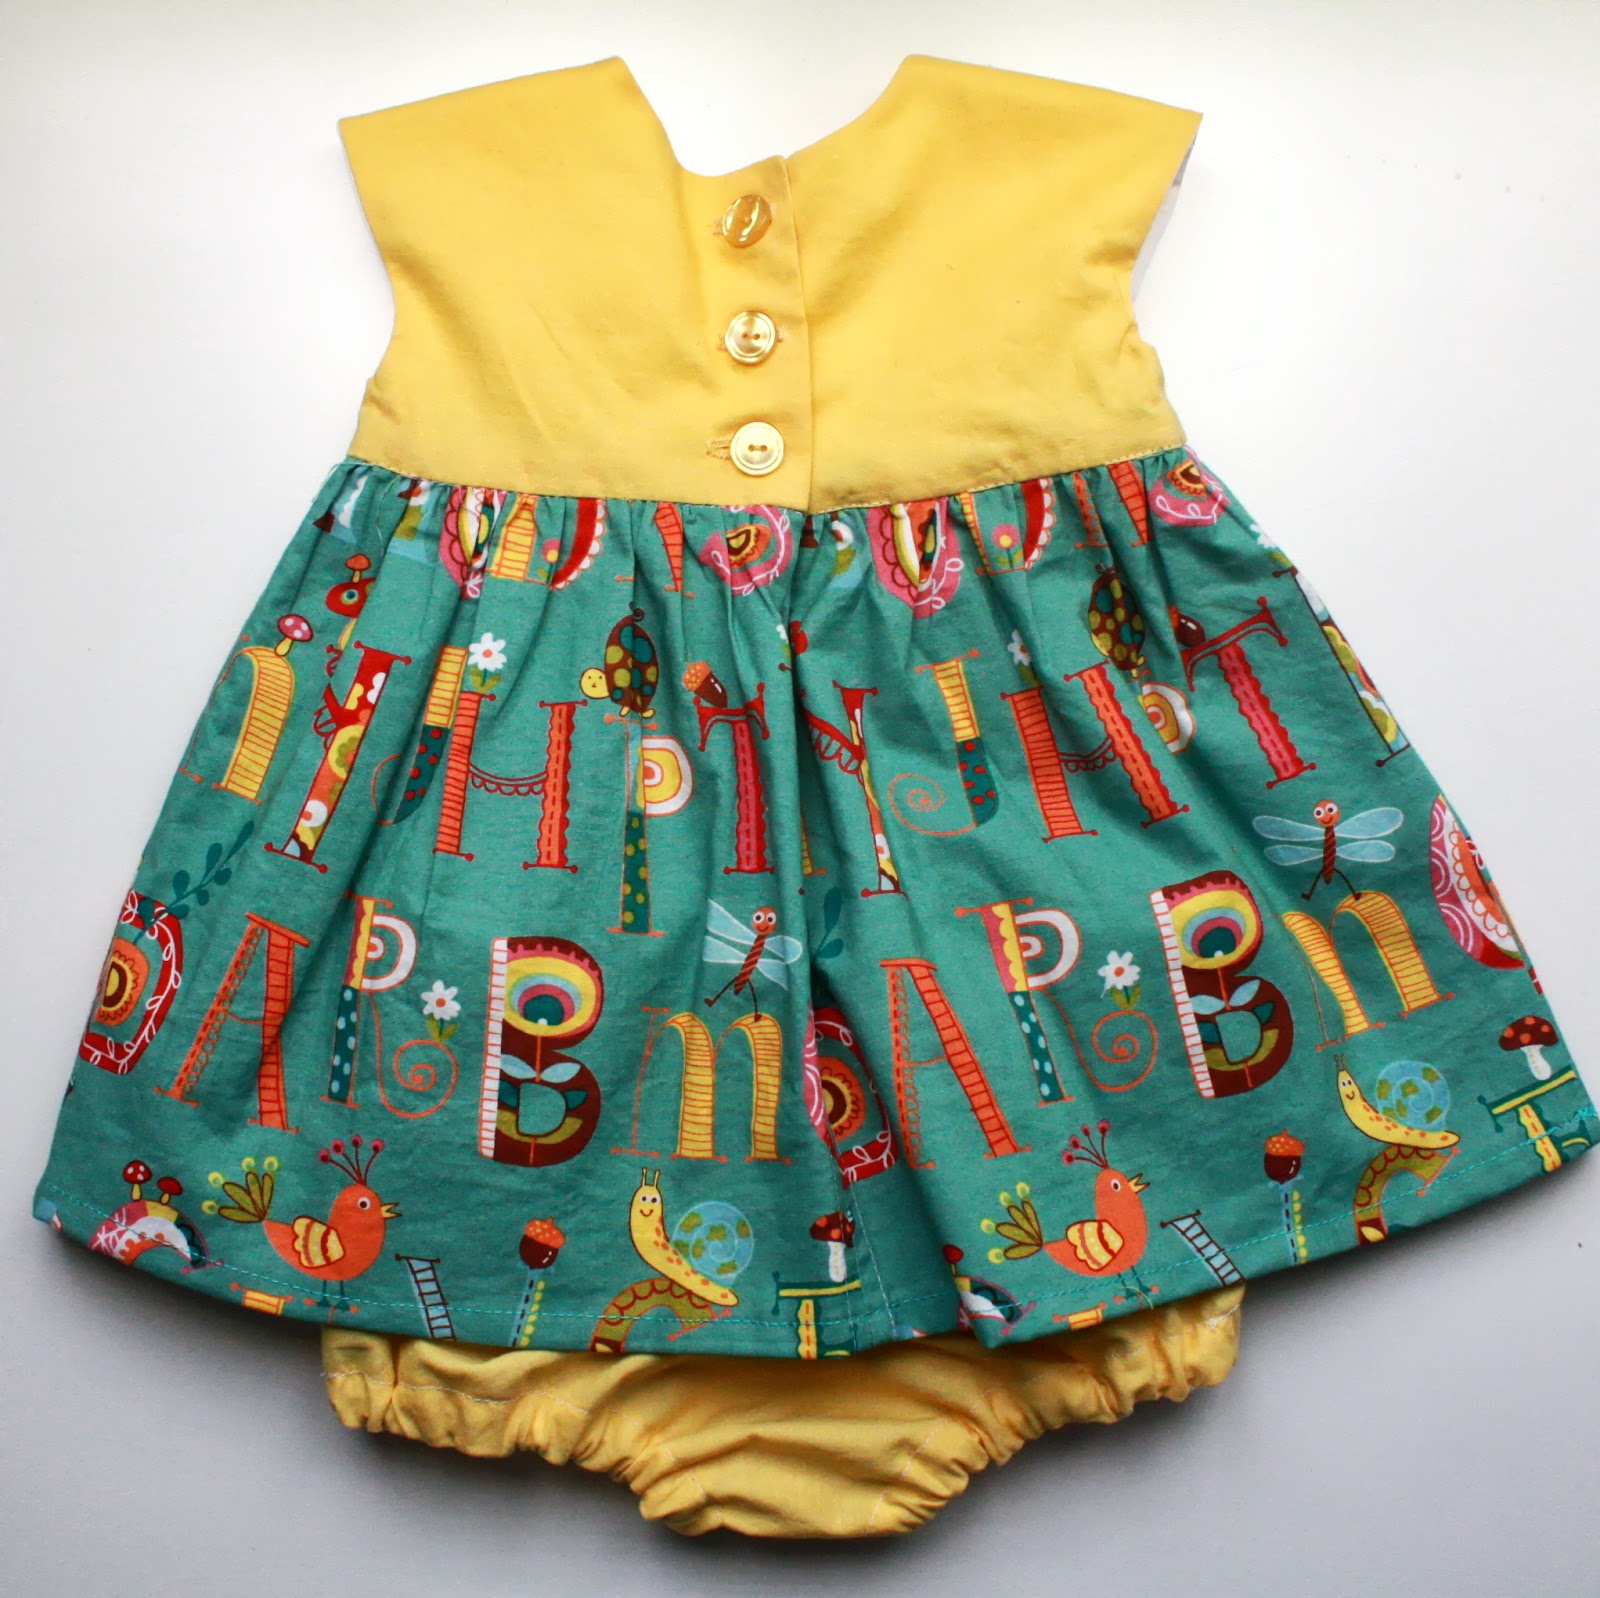
| Back view |
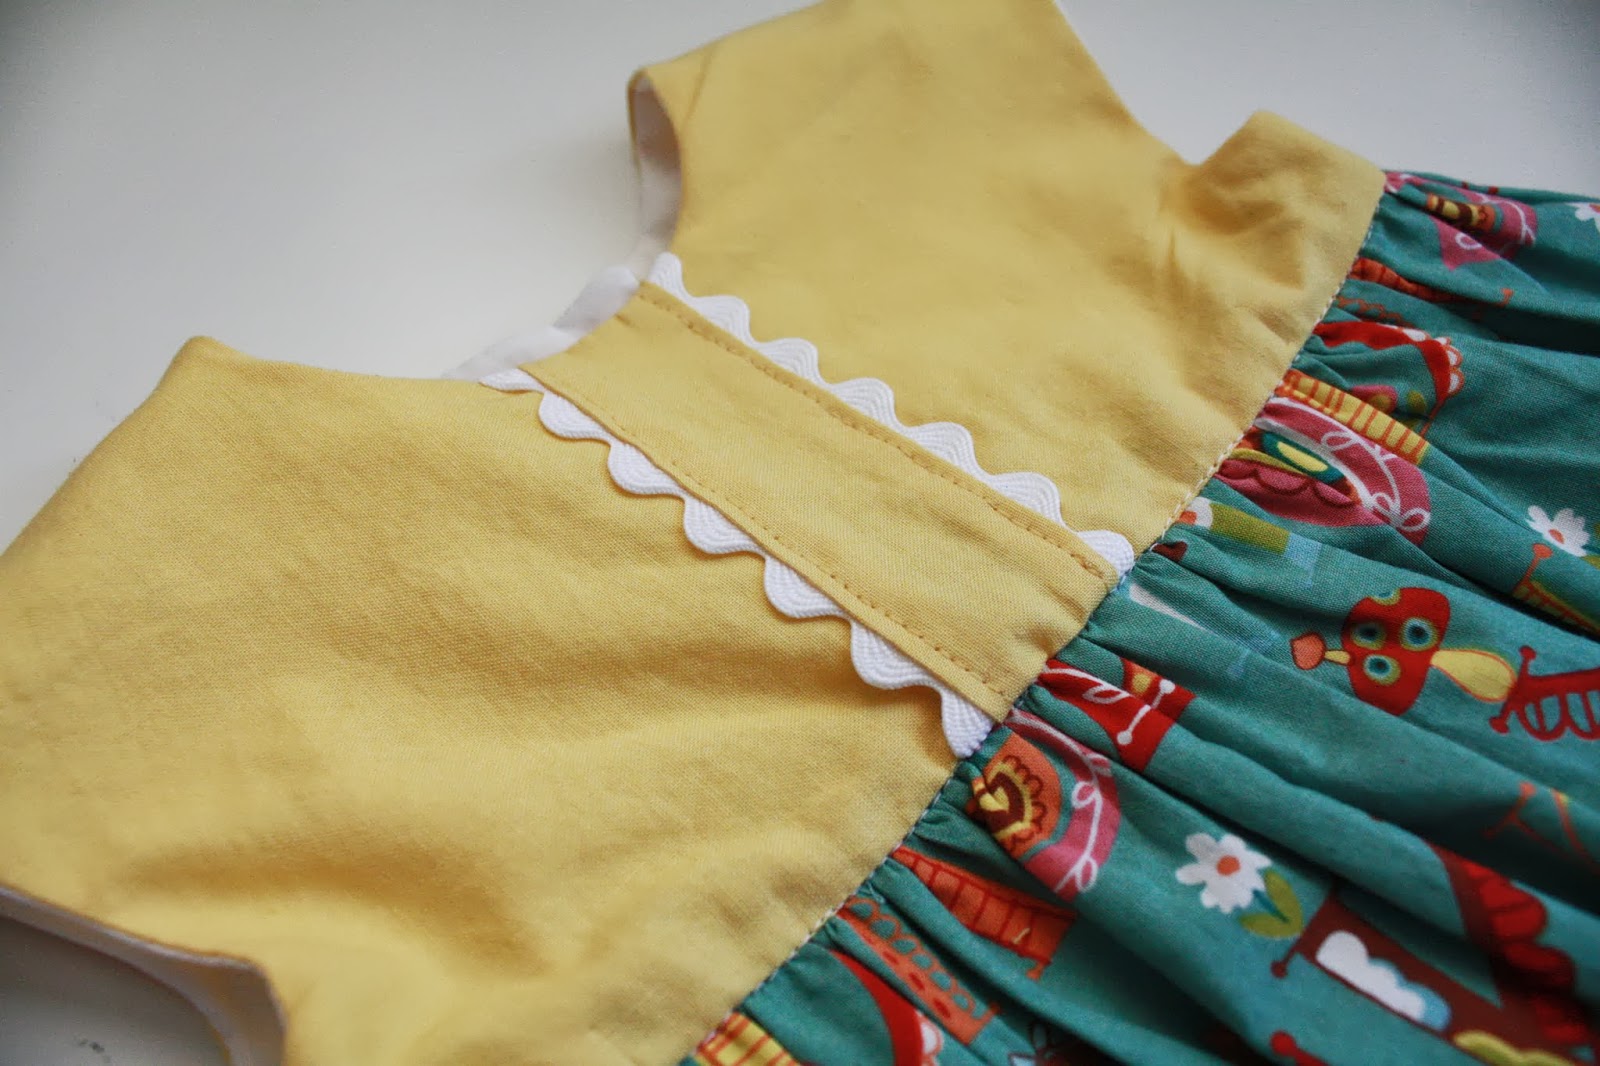
Again, I used Rae’s Geranium Dress pattern, with a small variation. The bodice was expanded a bit, rickrack was placed in folds of fabric and sewn down. Since I worked out the measurements (for 1/2″ rickrack trim), I thought I would share in case anyone else wanted to try out this easy embellishment. The directions are in the photo captions, so you can play along 🙂
 |
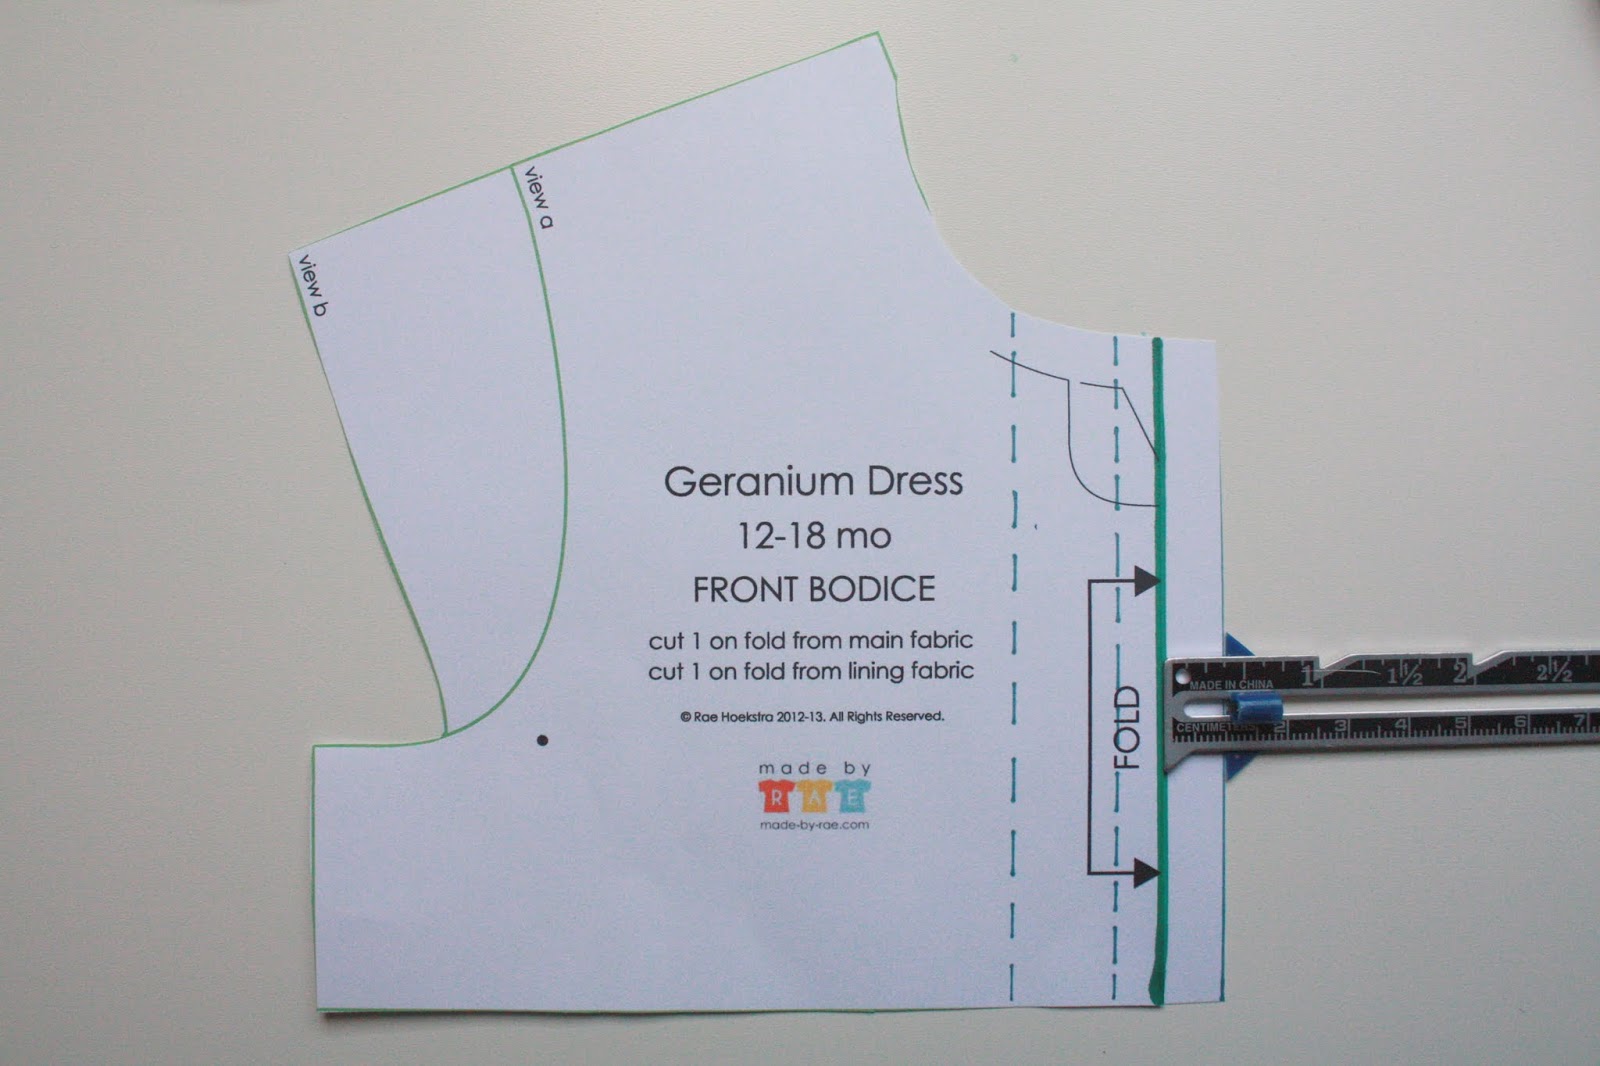
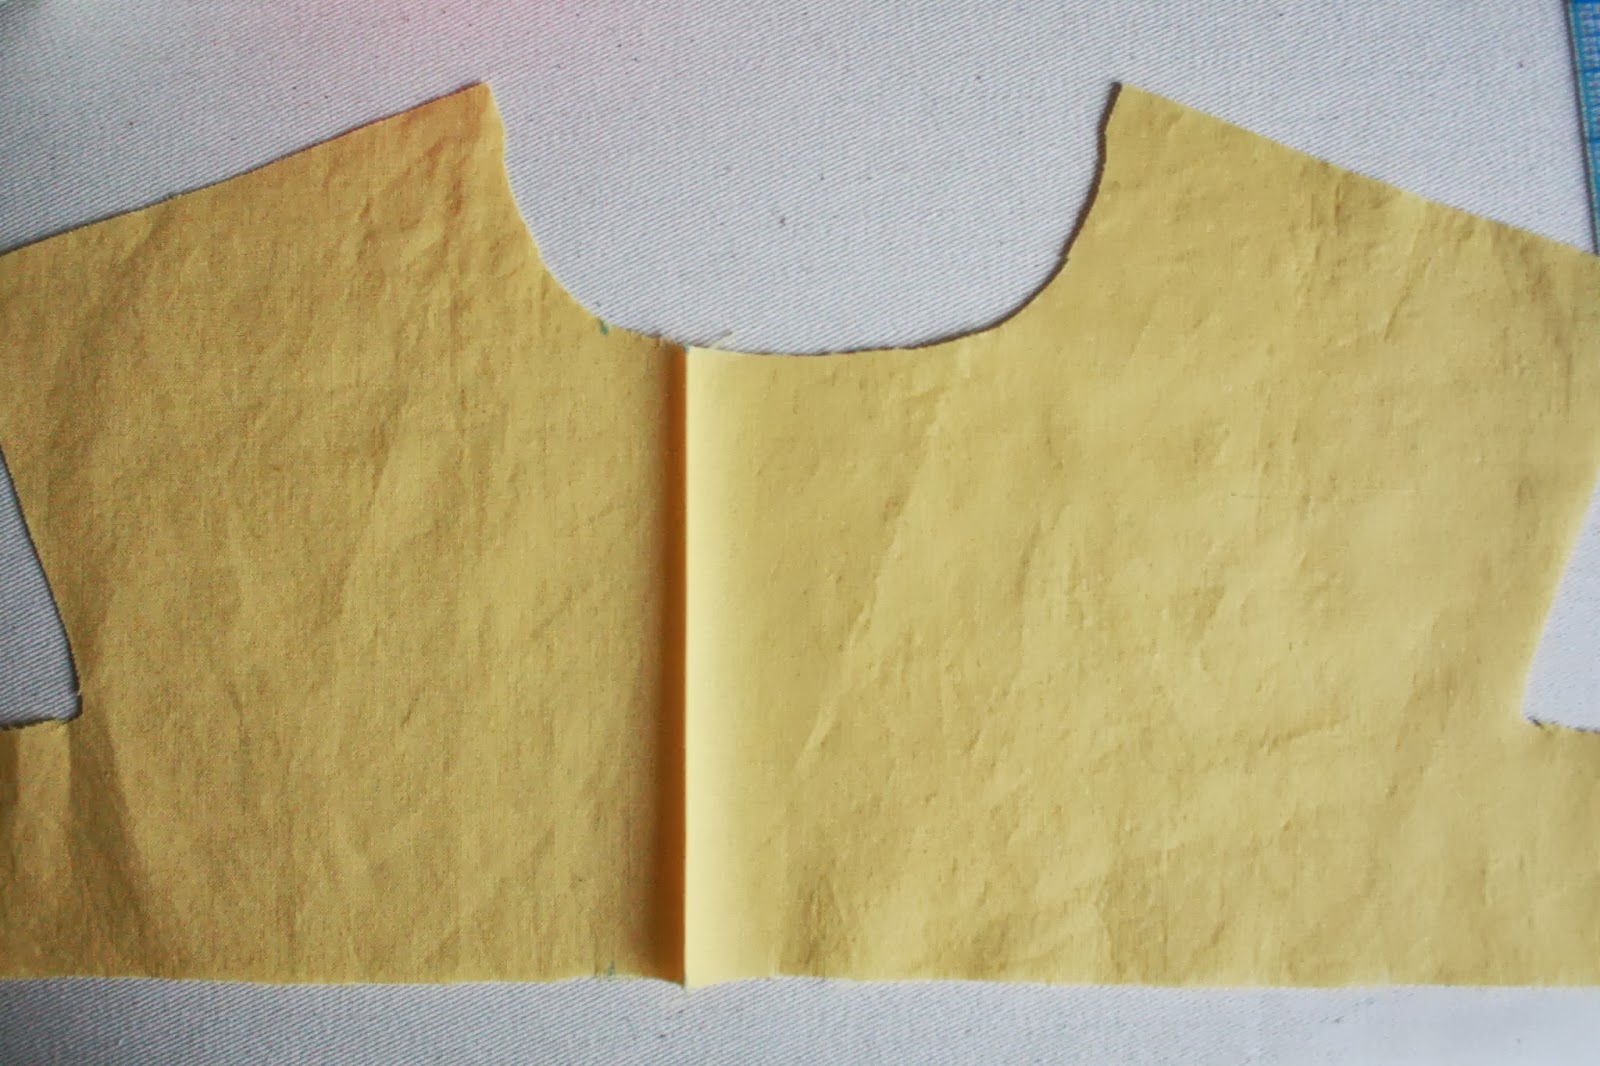
| 1. To start, add an additional 3/8″ to the “fold” edge of the pattern piece. This is the new fold line. |
 |
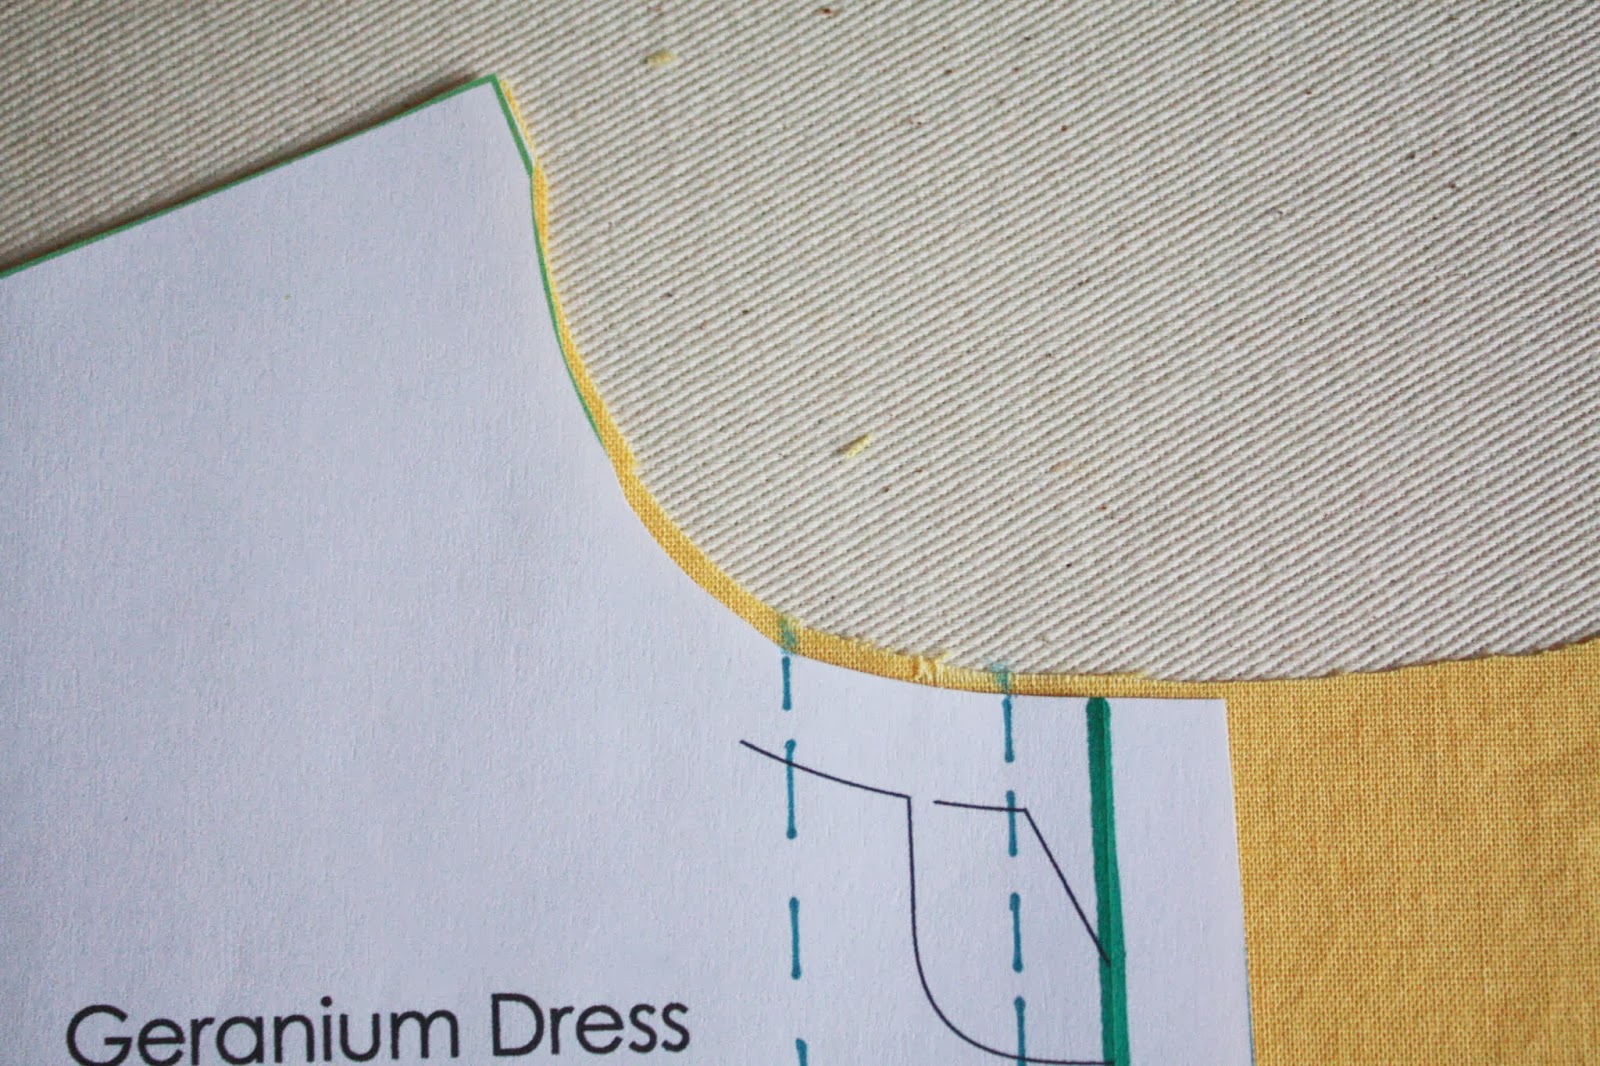
| 2. Draw two new lines on the pattern: the first 1/4″ from the original fold line and the second, 5/8″ from that line. |
 |
| 3. On the right side, mark the location of the new lines on your fabric at the top and bottom, within the seam allowance. Flip the pattern, recenter and repeat for the left side of the bodice. |
 |
| 4. Using the markings closest to the center front, press a crease. Only the right side of the bodice is shown, but repeat for the left side. |
 |
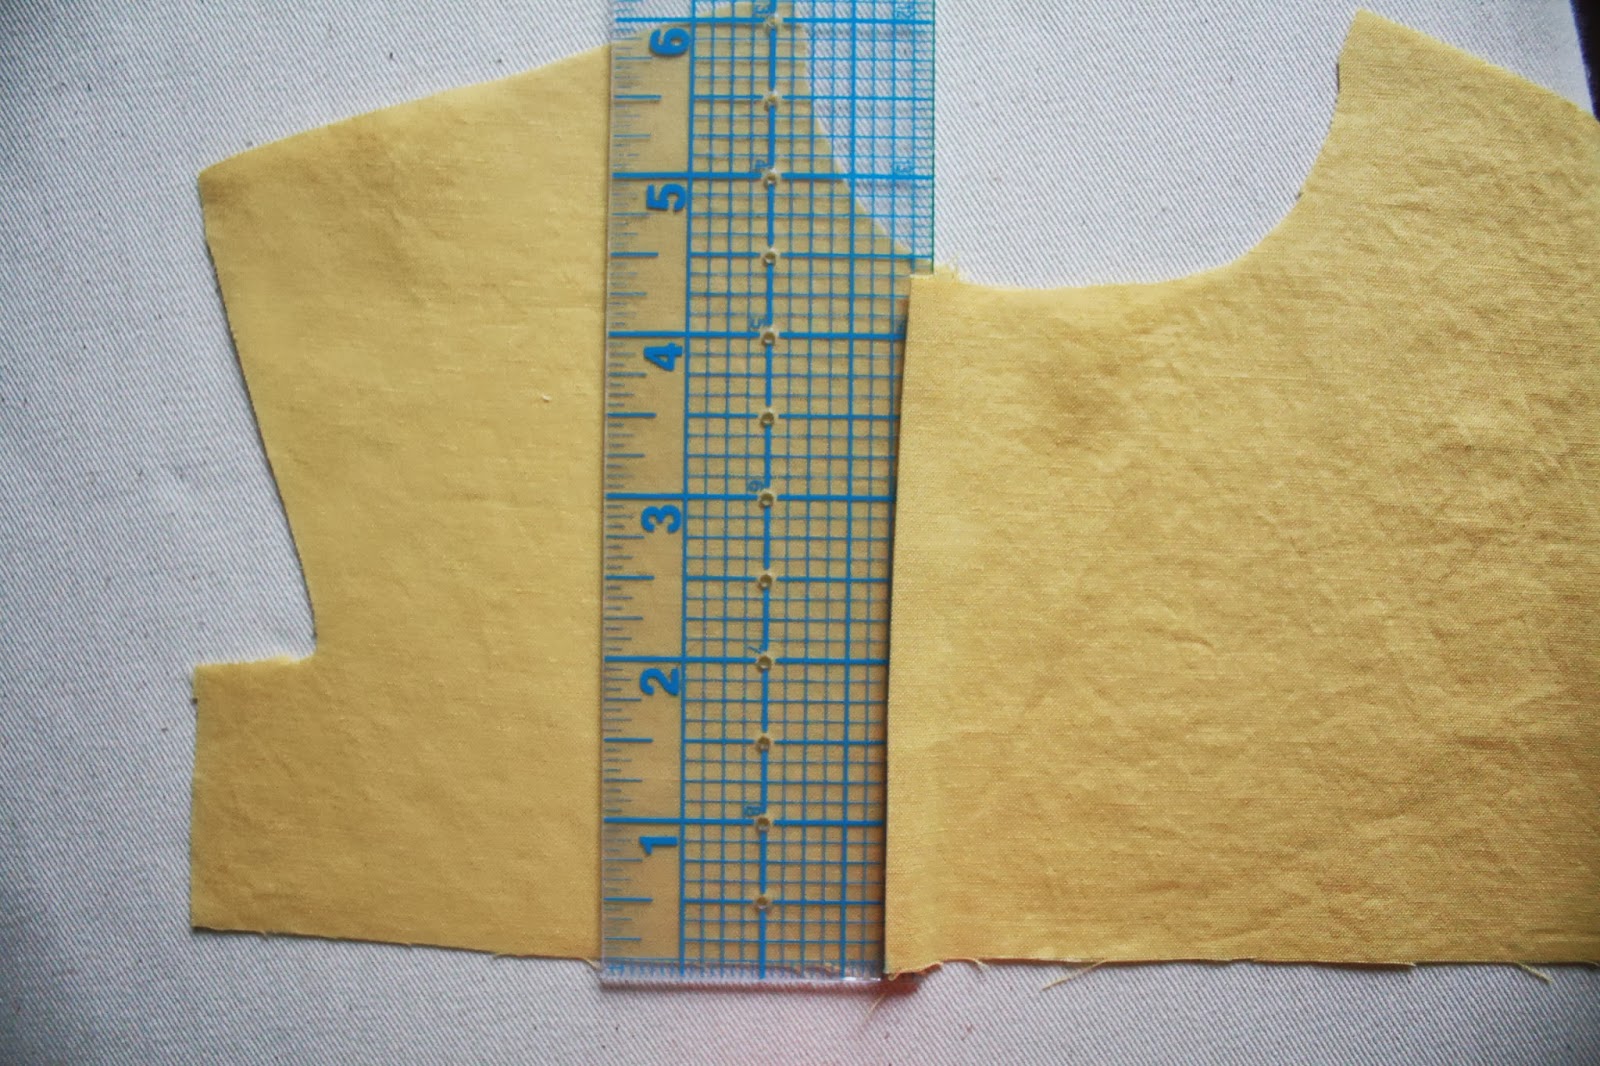
| 5. Bring the newly creased edge to match up with the second set of markings. The ruler is illustrating that the created pleat is 1/4″ deep–don’t iron on your ruler! |
 |
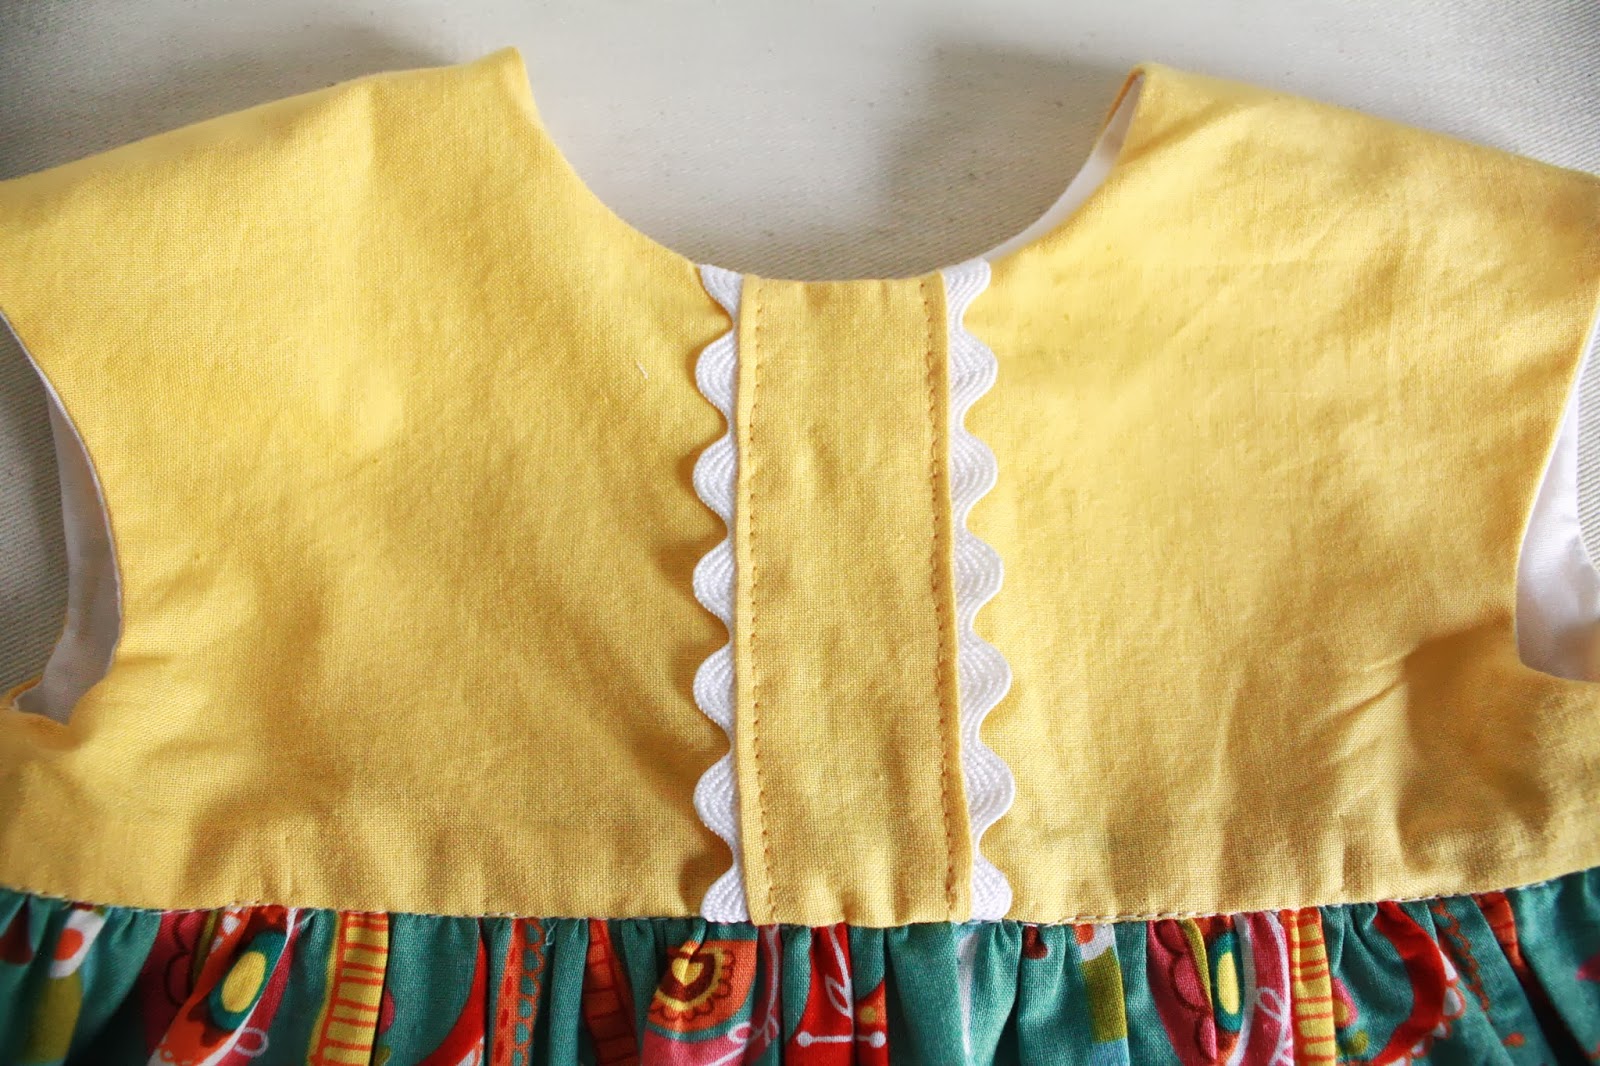
6. Place rickrack into the crease, pin and topstitch along the edge of the crease.
Repeat for the other side. |
 |
| Then, continue with the rest of the pattern as directed! |
After the
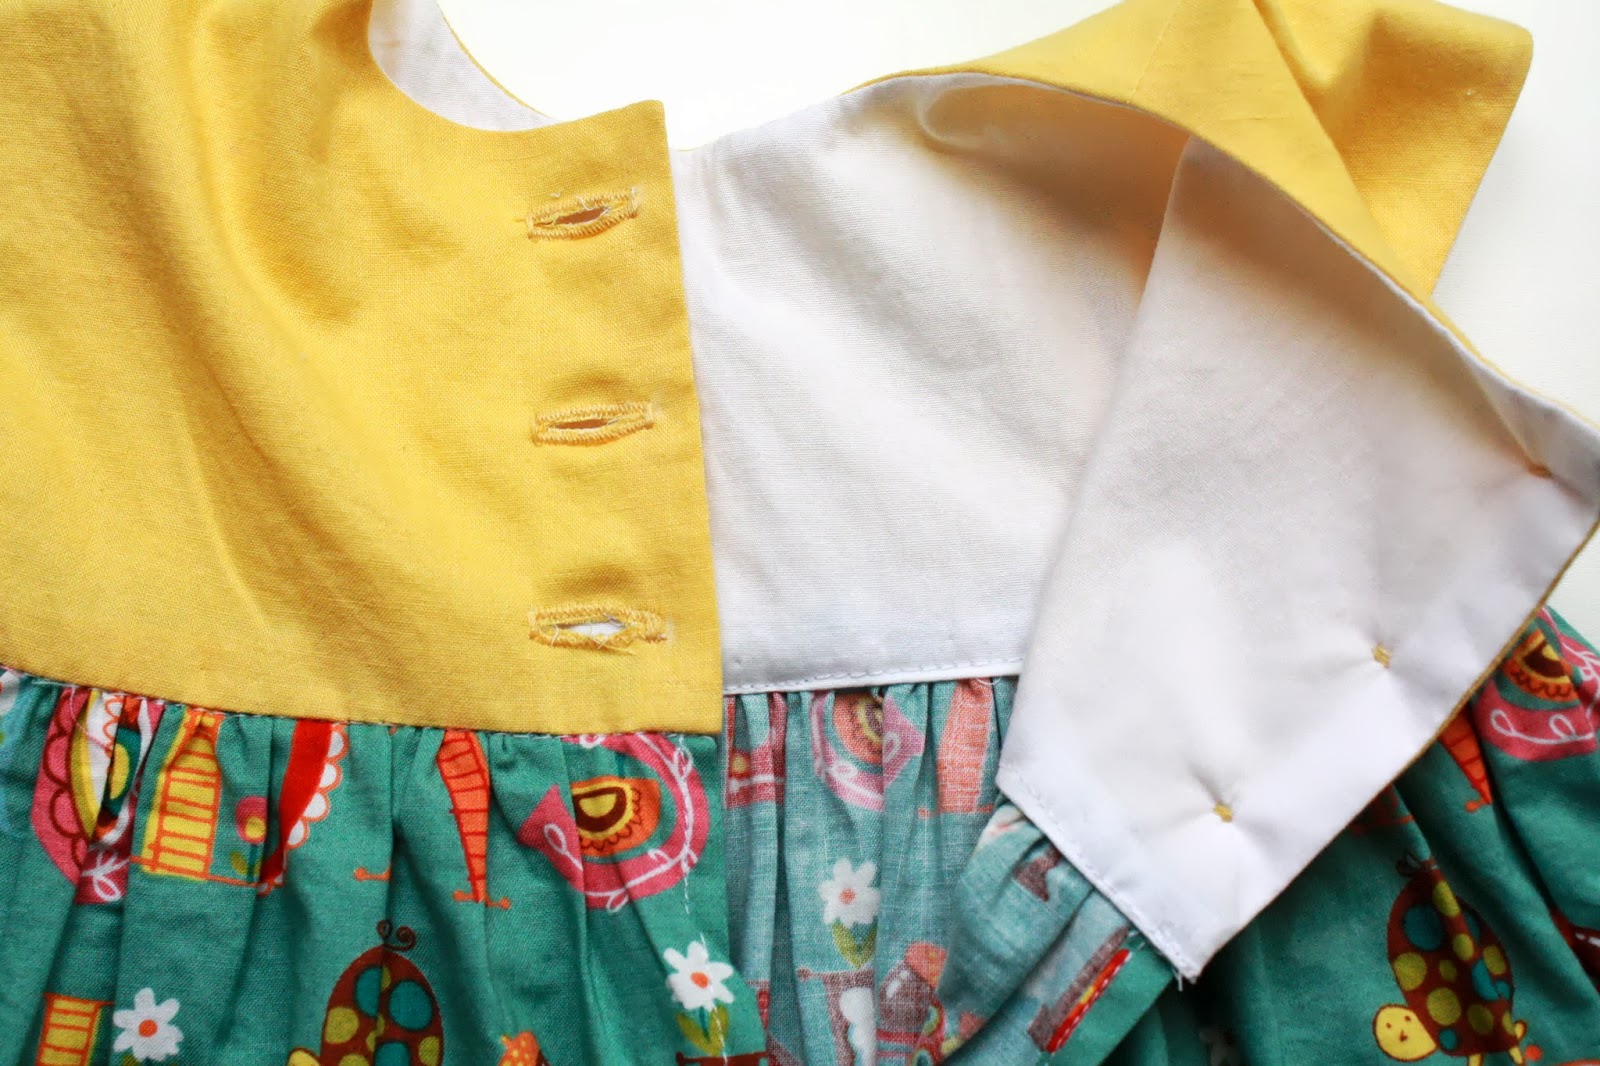
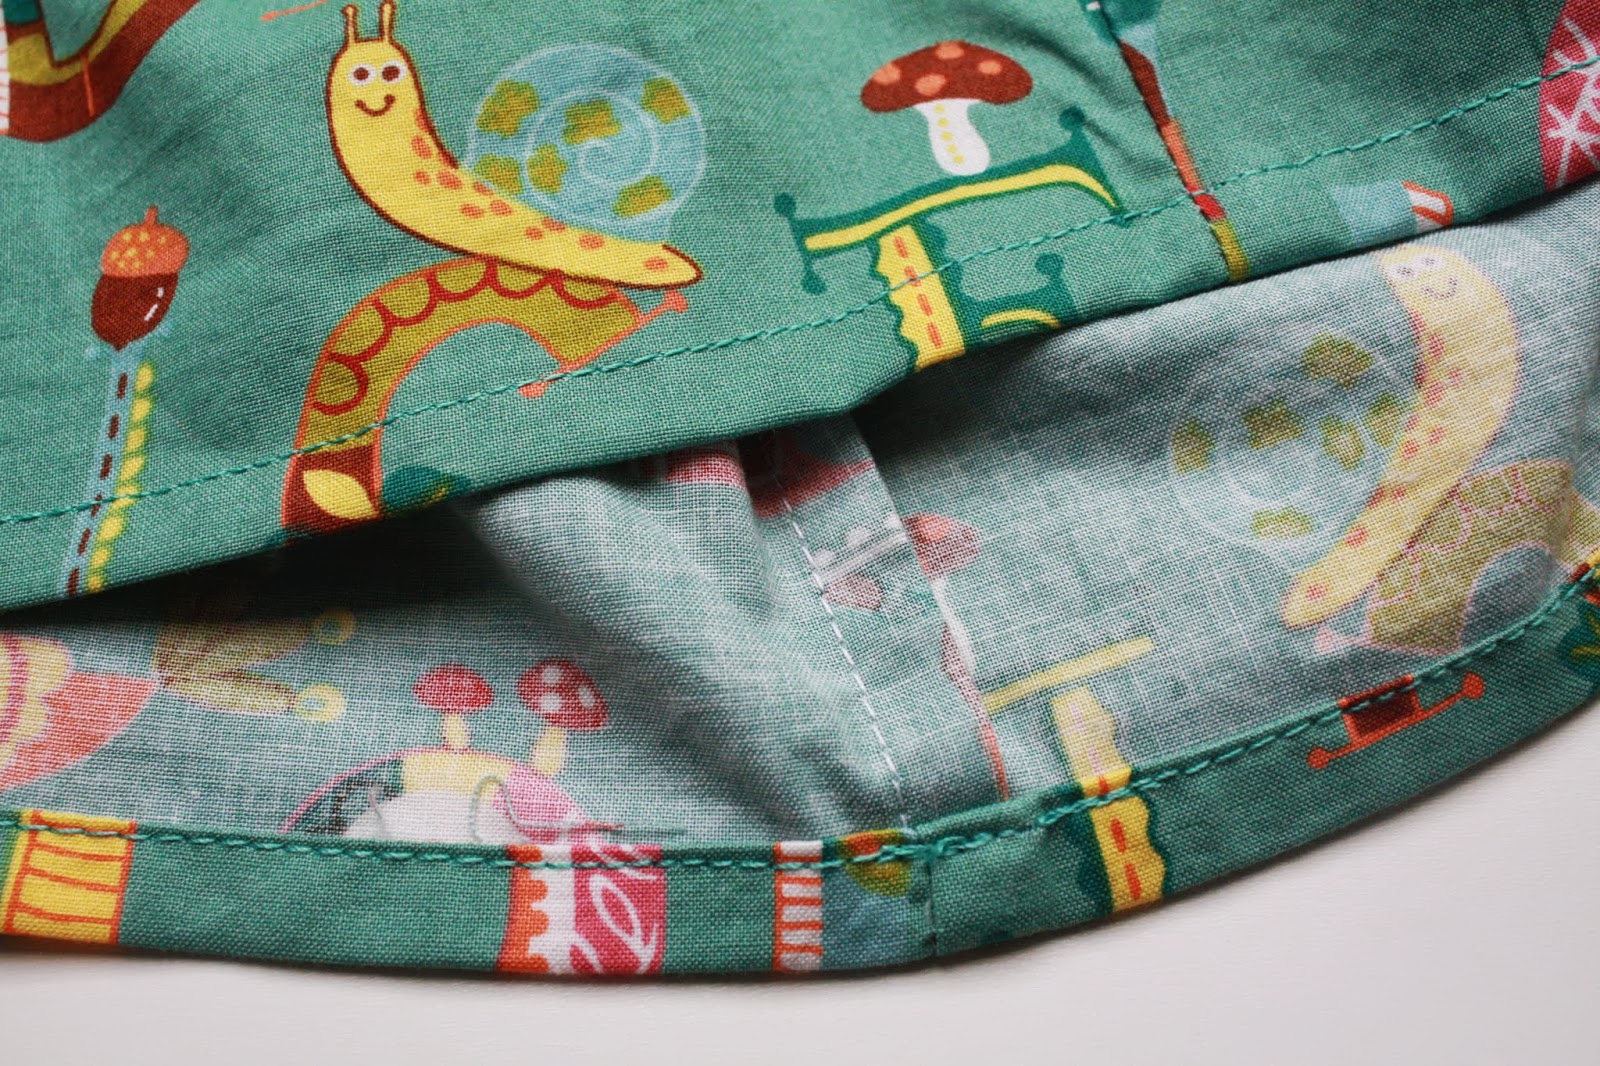
SOSM, I feel compelled to show the inside seams of the dress–the shirt and bloomers were done in French seams.
 |
| Inside bodice |
 |
| French seam and 3/8″ double hem. |
 |
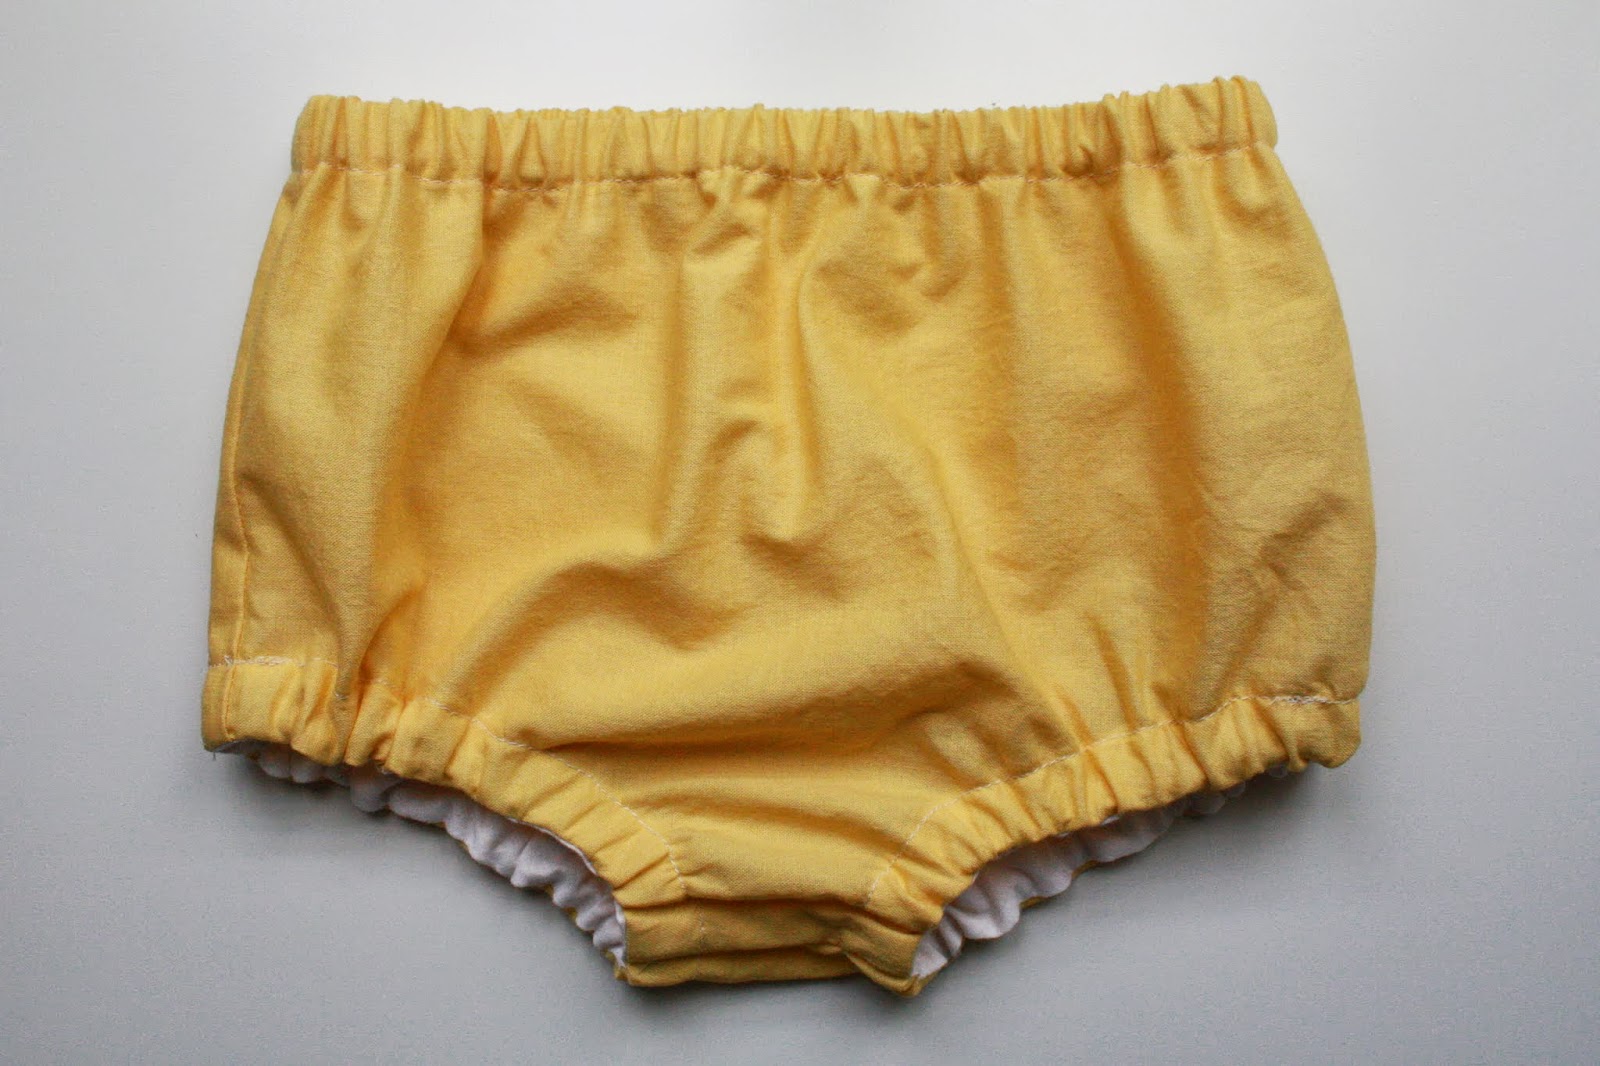
| Bloomers: outside view |
 |
| Bloomers: French seams inside |
Now, I just need to find time to meet baby Yael. Tonight, pattern making for a dress for me!


Awww. Adorable. Love the fabric combination too.
LikeLike
Im always so impressed with your fabric selection! And the polished look you give garments! For the french seam do you have to add to the original seam allowance? Maybe you have a tutorial on this… Im going to look. Im sewing my kids some linen coastal cargos and dont have a serger so figured french seams would help.
LikeLike
Thank you! I figured, parents of baby girls probably get enough pink, so yellow and green seemed like a lovely alternative!
LikeLike
No, you don't have to add extra to the original seam allowance for a French seam (at least I don't!). When the given seam allowance is 5/8″, I typically do the first seam at 1/4″ and the second at 3/8″ (which adds up to the 5/8″). If the seam allowance is 1/2″, it would work to do 1/4″ for the first seam, trim carefully to 1/8″ and then do a 1/4″ for the second.
I'm going to try to make the coastal cargos next week, too! I wasn't able to find fabric that I liked for the bias tape down the sides, so I'll probably end up using flat-felled seams (instead of French seams) for that, especially since it will look nice to do a line of topstitching down the sides. Linen sounds like such a nice choice for those pants!
LikeLike
so adorable! I really love the fabrics you chose. I love that show the seams on the inside. Mine can be sloppy and you inspire me to do a better job.
LikeLike
So cute.. I love making childrens clothes.. SO fun and cute. The fabric is adorable. Happy sewing.
LikeLike
what an adorable dress x
LikeLike
I didn't always worry so much about the inside seams, but now I feel a little obsessed!
LikeLike
Kid's clothing is fun–so much more playful, and fit isn't quite so critical, which is nice!
LikeLike
Thanks! I hope the little girl (and mom!) like it!
LikeLike
so cute! I love that skirt fabric with the yellow bodice.
LikeLike